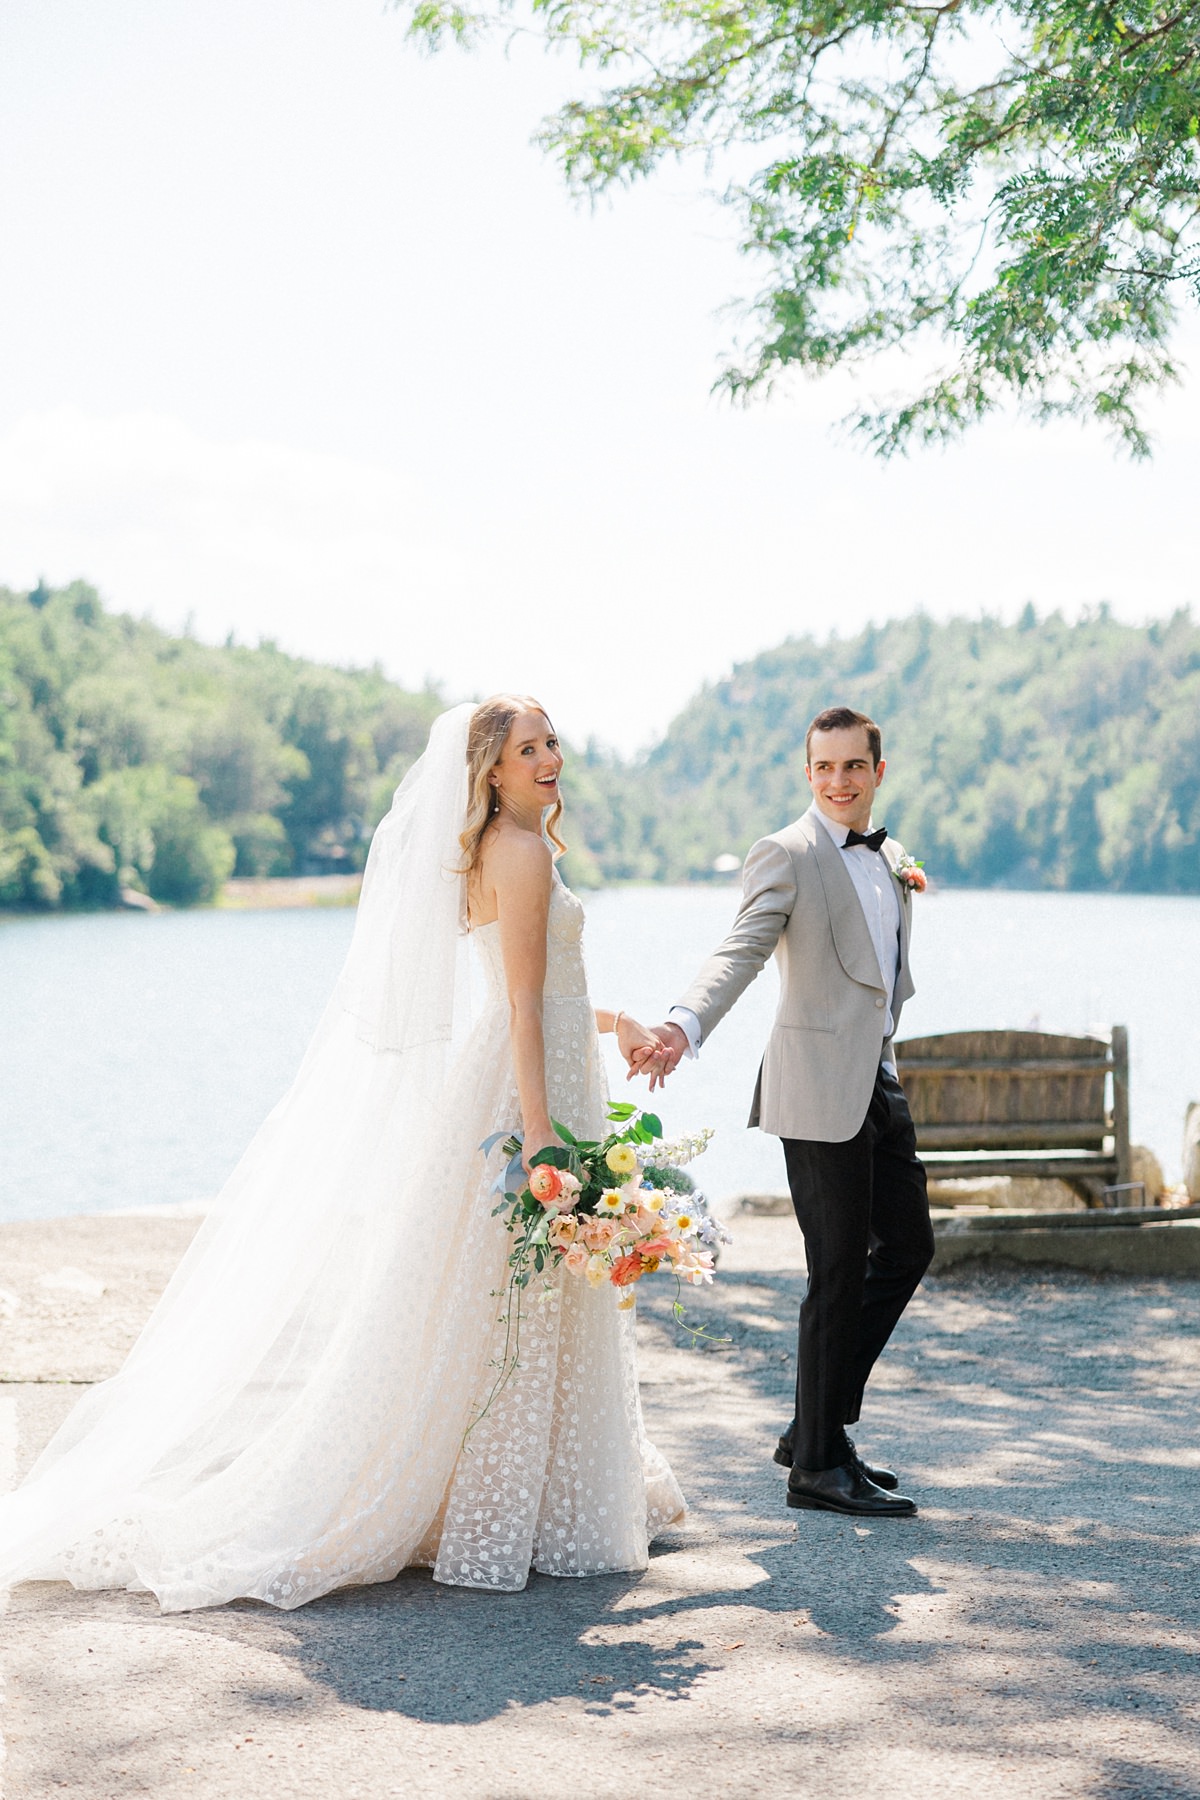
As someone who photographs weddings for a living, let me tell you — I’ve seen it all! Some things you can prepare for, some things not so much. But today, I’m here to tell you about 10 things that have potentially yet to cross your mind when it comes to planning and preparing for your big day.
1. Hire a professional to coordinate your day.
Let me tell you, you do NOT want to be the one in charge of coordinating everything on your wedding day. You have enough to worry about, and you’re about to get married! You want to be able to enjoy your day and not be worrying about the little things (that can add up to big things).
I highly recommend hiring a planner, or a month-of or day-of coordinator, to make sure your day runs smoothly. Be aware that most wedding venues will include a venue coordinator (someone who works at the venue and is assigned to your wedding day). This is NOT the same thing as hiring a planner! The venue coordinator works for the venue, not you.
Don’t get me wrong, venue coordinators are super helpful and a big part of making sure your day goes smoothly, but they are more focused on the venue itself in terms of the staff, the food, the bathrooms, etc. They are also only onsite at the venue. A designated wedding planning is solely focused on you, being with you and keeping your day on track from start to finish.
2. Factor in extra time for travel, EVERYWHERE!
When I am building wedding day timelines, I do my best to add extra buffer time wherever I can — especially when it comes to travel time. And, the more people to transport (i.e. large wedding parties), the longer it can take. We would always rather be ahead of schedule than behind!
Even if it’s technically only a ten minute drive from Point A to Point B, there are plenty of other factors to consider — including the time it takes to get everyone into to the car or shuttle, any traffic along the way (especially depending on the day of the week and the time of day), the parking situation (street or garage parking always takes longer), and the time it takes to physically walk from the parking lot into the venue/church/etc. Also, account for extra time in case whoever is driving gets lost! GPS isn’t fool proof, and even experienced shuttle drivers can take a wrong turn.
3. Consider doing a first look.
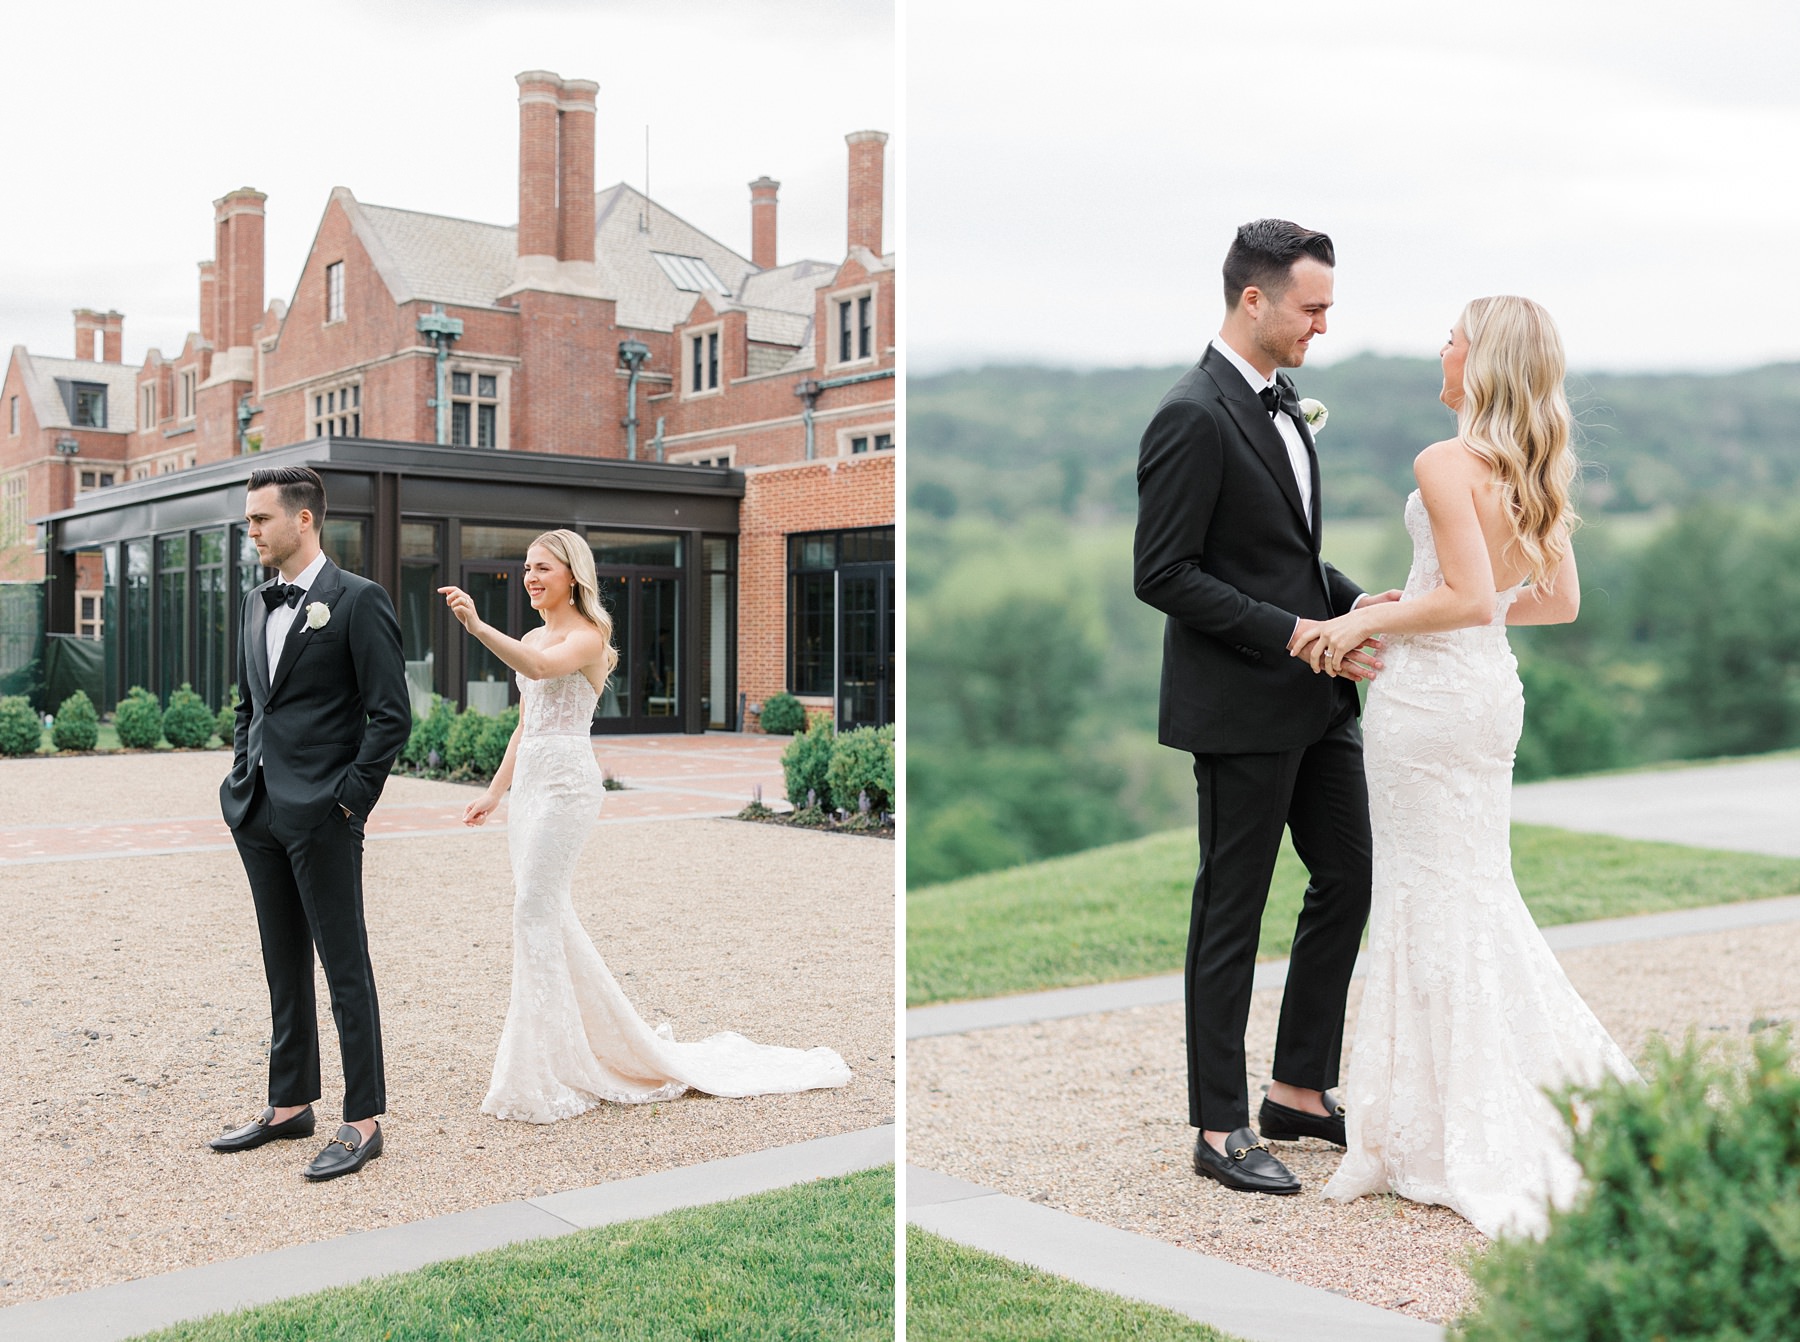
I know this isn’t exactly a new concept, but I speak to plenty of couples who are initially against doing a first look. Then, after understanding the benefits and how much more stress-free it makes their timeline, they are all for it and can’t imagine their day without one!
While some timelines can work fine without a first look, more times than not I highly recommend doing one — and in my experience, doing a first look does not make the walking-down-the-aisle moment any less special.
If you don’t do a first look, you will miss your entire cocktail hour (which I personally believe is one of the best parts of a wedding!). With a first look, however, you will have more time for portraits, finish most of your photos before the ceremony, get to attend and enjoy your cocktail hour, and spend far more time together as a couple on your wedding day than you would if you didn’t see each other until the ceremony. Read more about why you should do a first look here.
4. Make your ceremony unplugged.
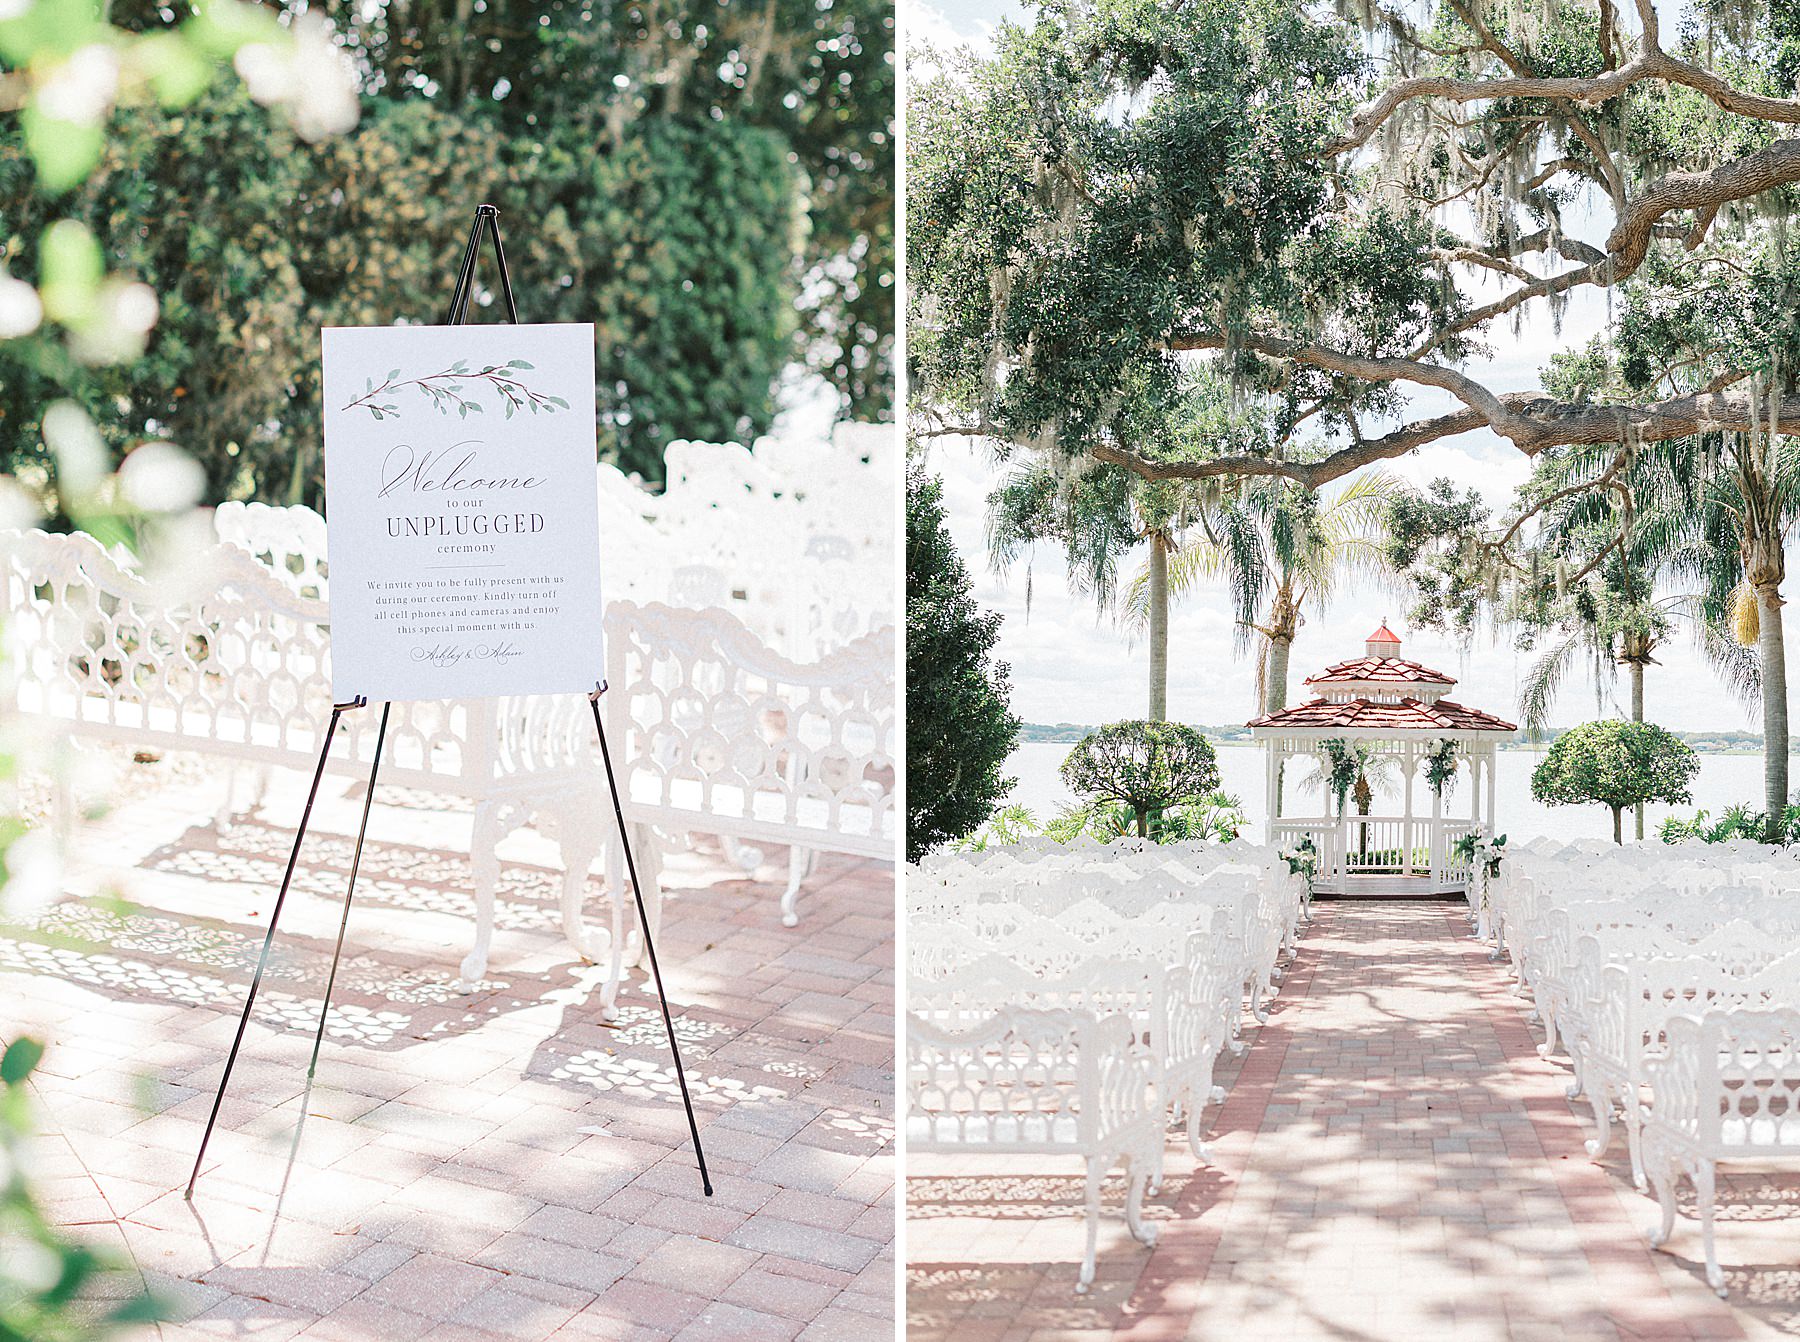
Ah, the smart phone. My best friend, but also my mortal enemy when it comes to photographing wedding ceremonies. I HIGHLY recommend making your ceremony “unplugged.”
Think of it this way — you’ve paid a lot of money for your photographer and videographer, so to have your guests’ phones hanging in the aisle in every photo of your ceremony… it’s not the vibe. Guests will be taking a low quality (and probably blurrily zoomed in) photo for their own Instagram story or Facebook page. Sometimes, guests’ phones even block your photographer’s shot! I’ve literally had a grandma with an iPad step in front of me during the first kiss before.
Not to mention, imagine looking back at your photos in ten, twenty, or fifty years when the iPhone is obsolete. You want your wedding gallery to be timeless and, beyond that, free of distractions taking away from the focus of the day — you and your partner!
Here are three ways to indicate to your guests that your ceremony is unplugged:
- Have a sign at the entrance to your ceremony space.
- Have your officiant make an announcement to please turn off phones and refrain from taking photos and videos — the photographer and videographer have it covered!
- Include it in your ceremony program (if you have one).
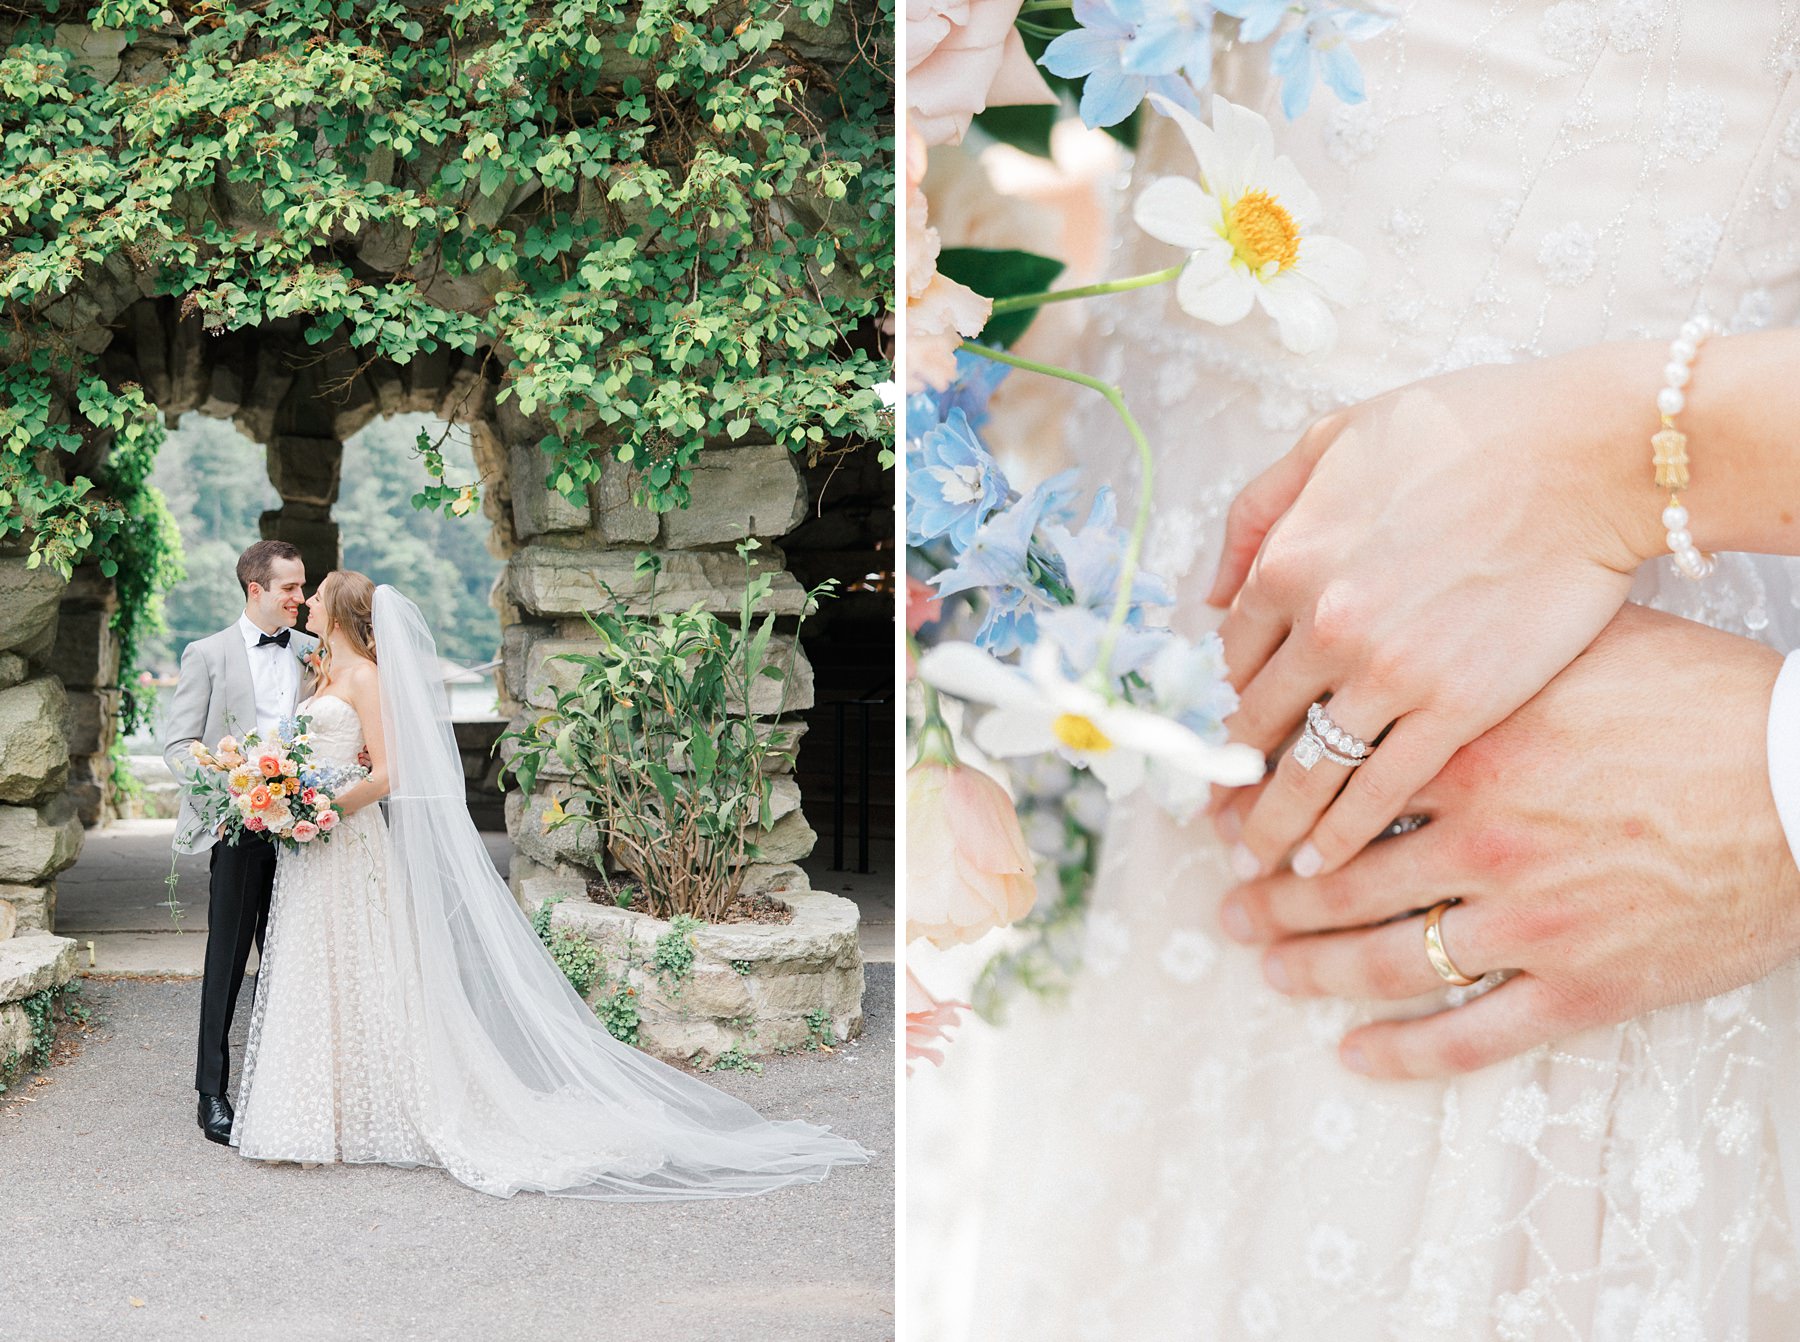
5. Wear your engagement ring on your right hand during your ceremony.
I have SO many brides ask what to do with their engagement ring during the ceremony. My first recommendation is to switch your engagement ring to the ring finger of your right hand so your fiancé can easily place your wedding band on your left ring finger during the ceremony. However, if you’re like me and your right ring finger is too big for your engagement ring, just leave it on your left hand and switch the order of the bands after the ceremony!
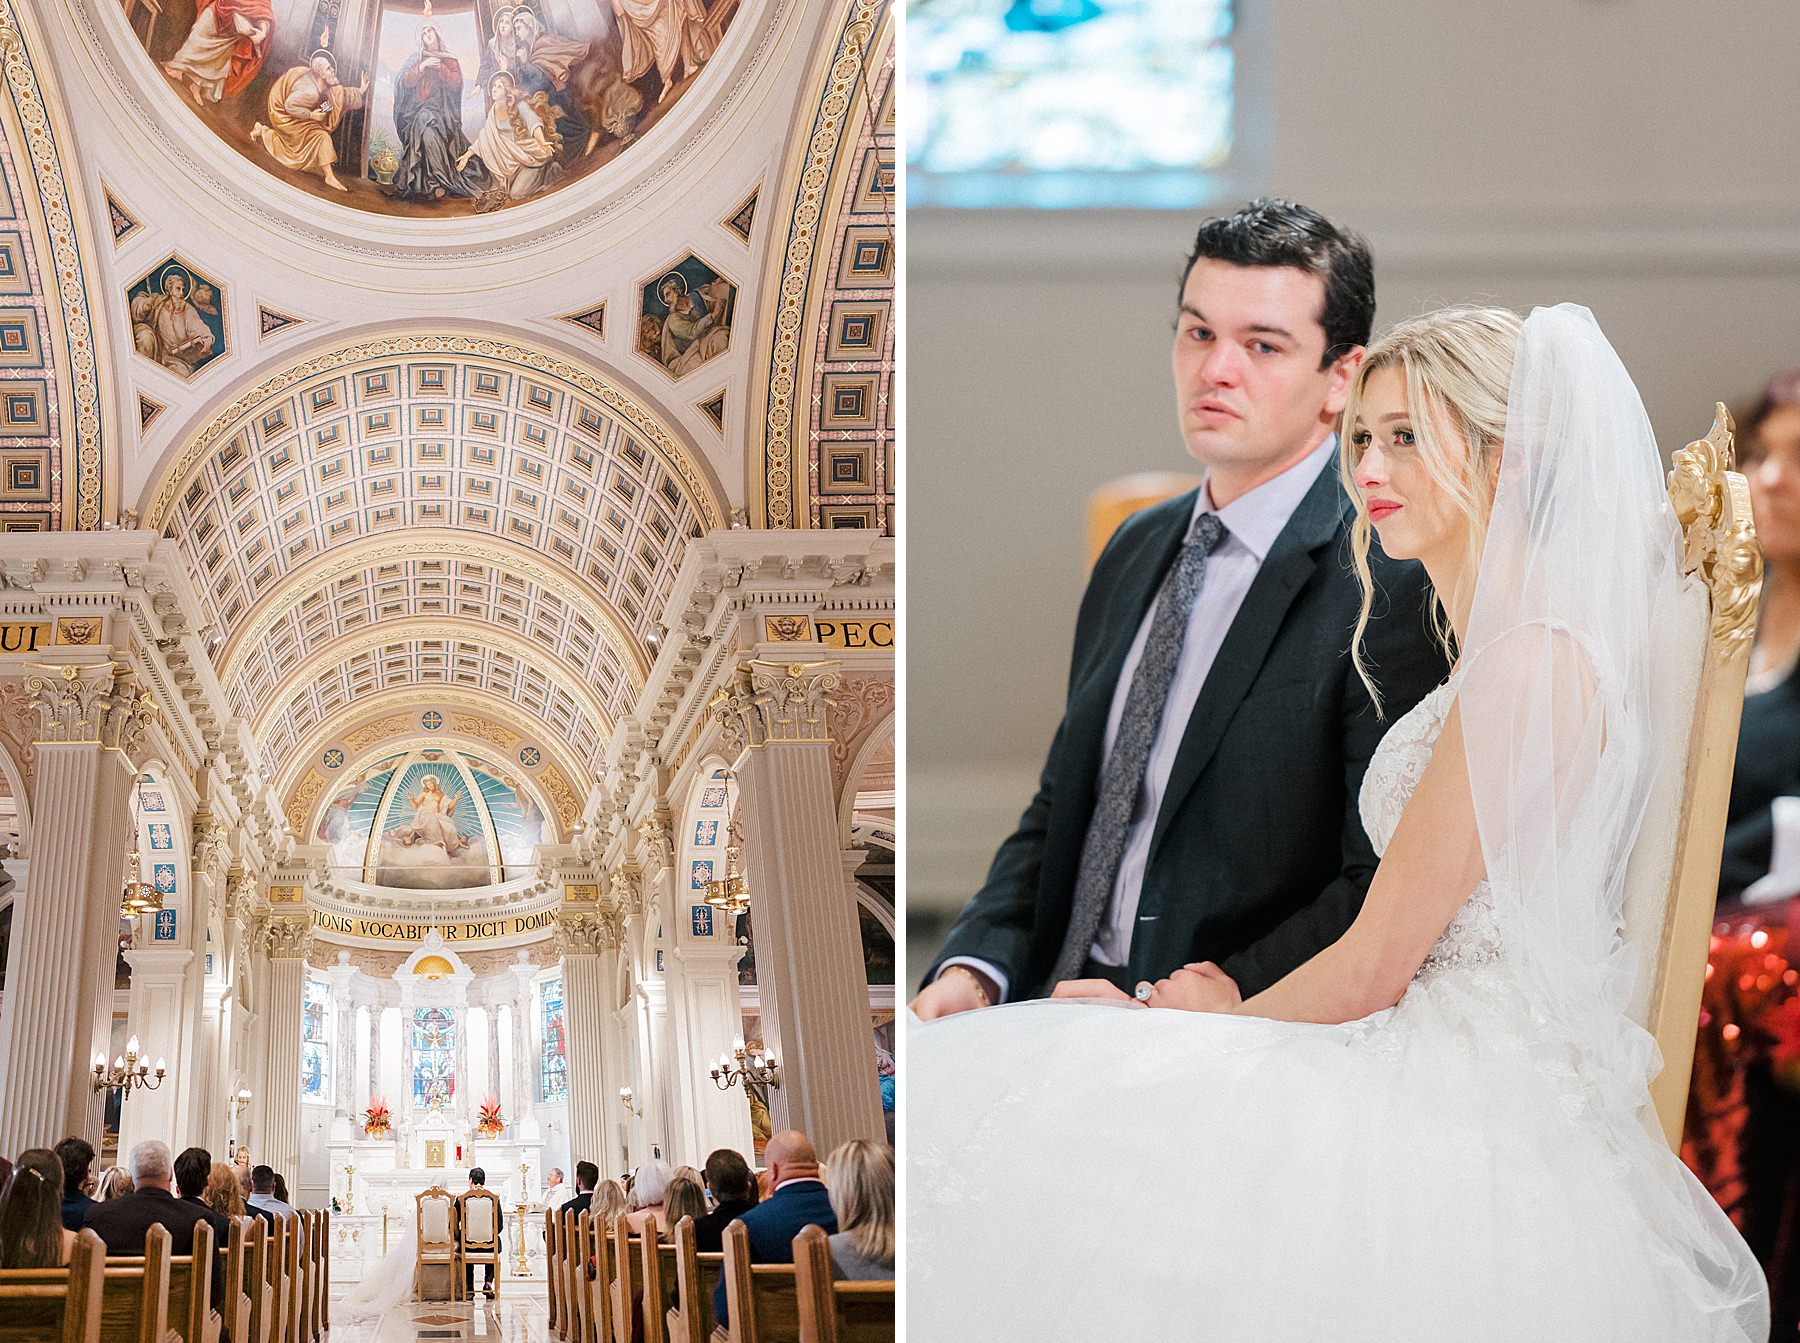
6. Share your order of service with your photographer.
All ceremonies are different! Always be sure to share a basic outline of how your ceremony will unfold with your photographer so that they can be ready to capture all of the must-have moments (and be in the best spot for each).
Let your photographer know about any religious traditions, readings, or special moments planned. I’ve shot ceremonies where the couple’s first kiss wasn’t at the altar but rather off to the side, and in the middle of ceremony instead of the end — and although thankfully I was ready for it, if I had been on the wrong side of the church I would have totally missed it!
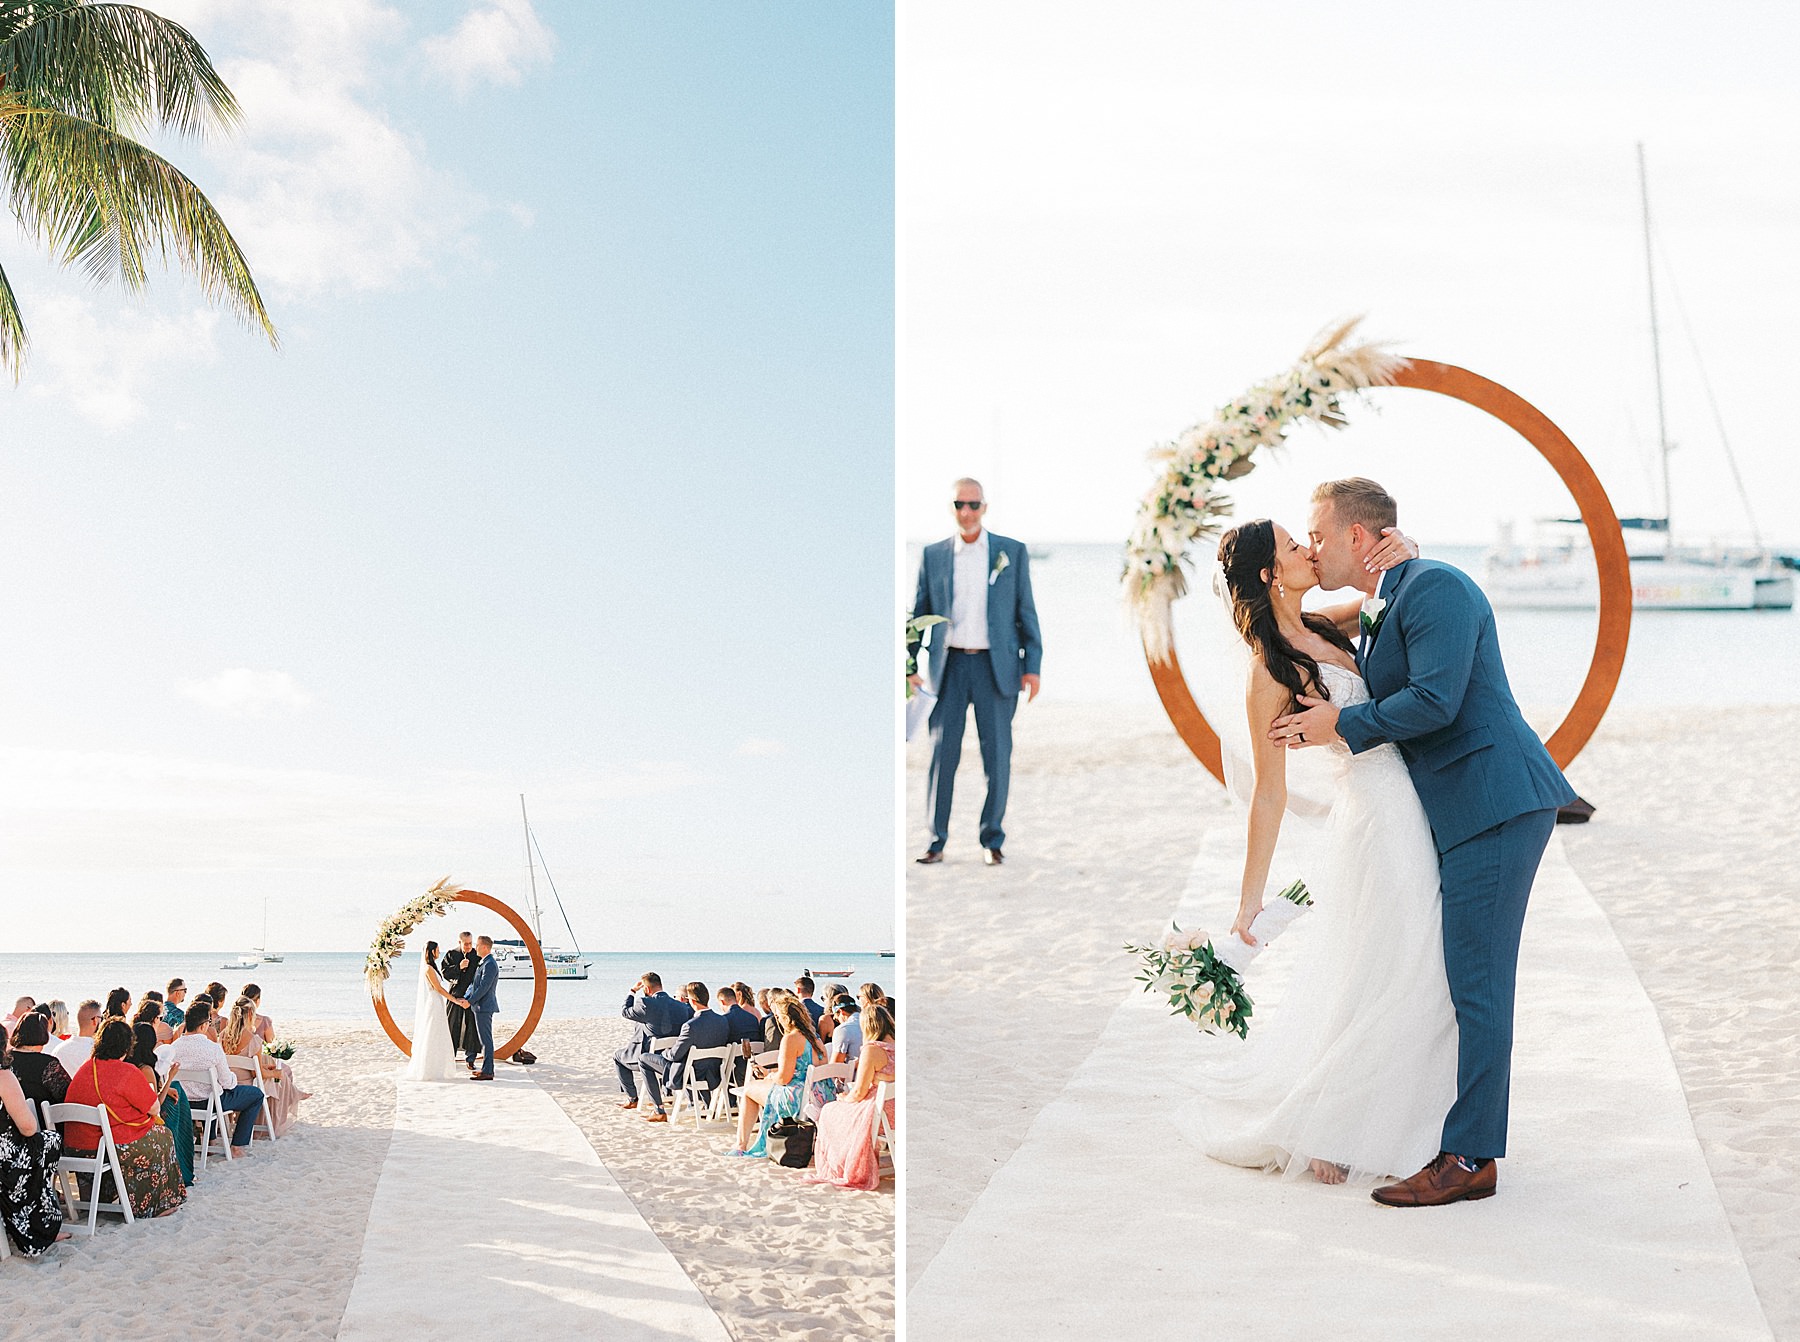
7. Practice your first kiss.
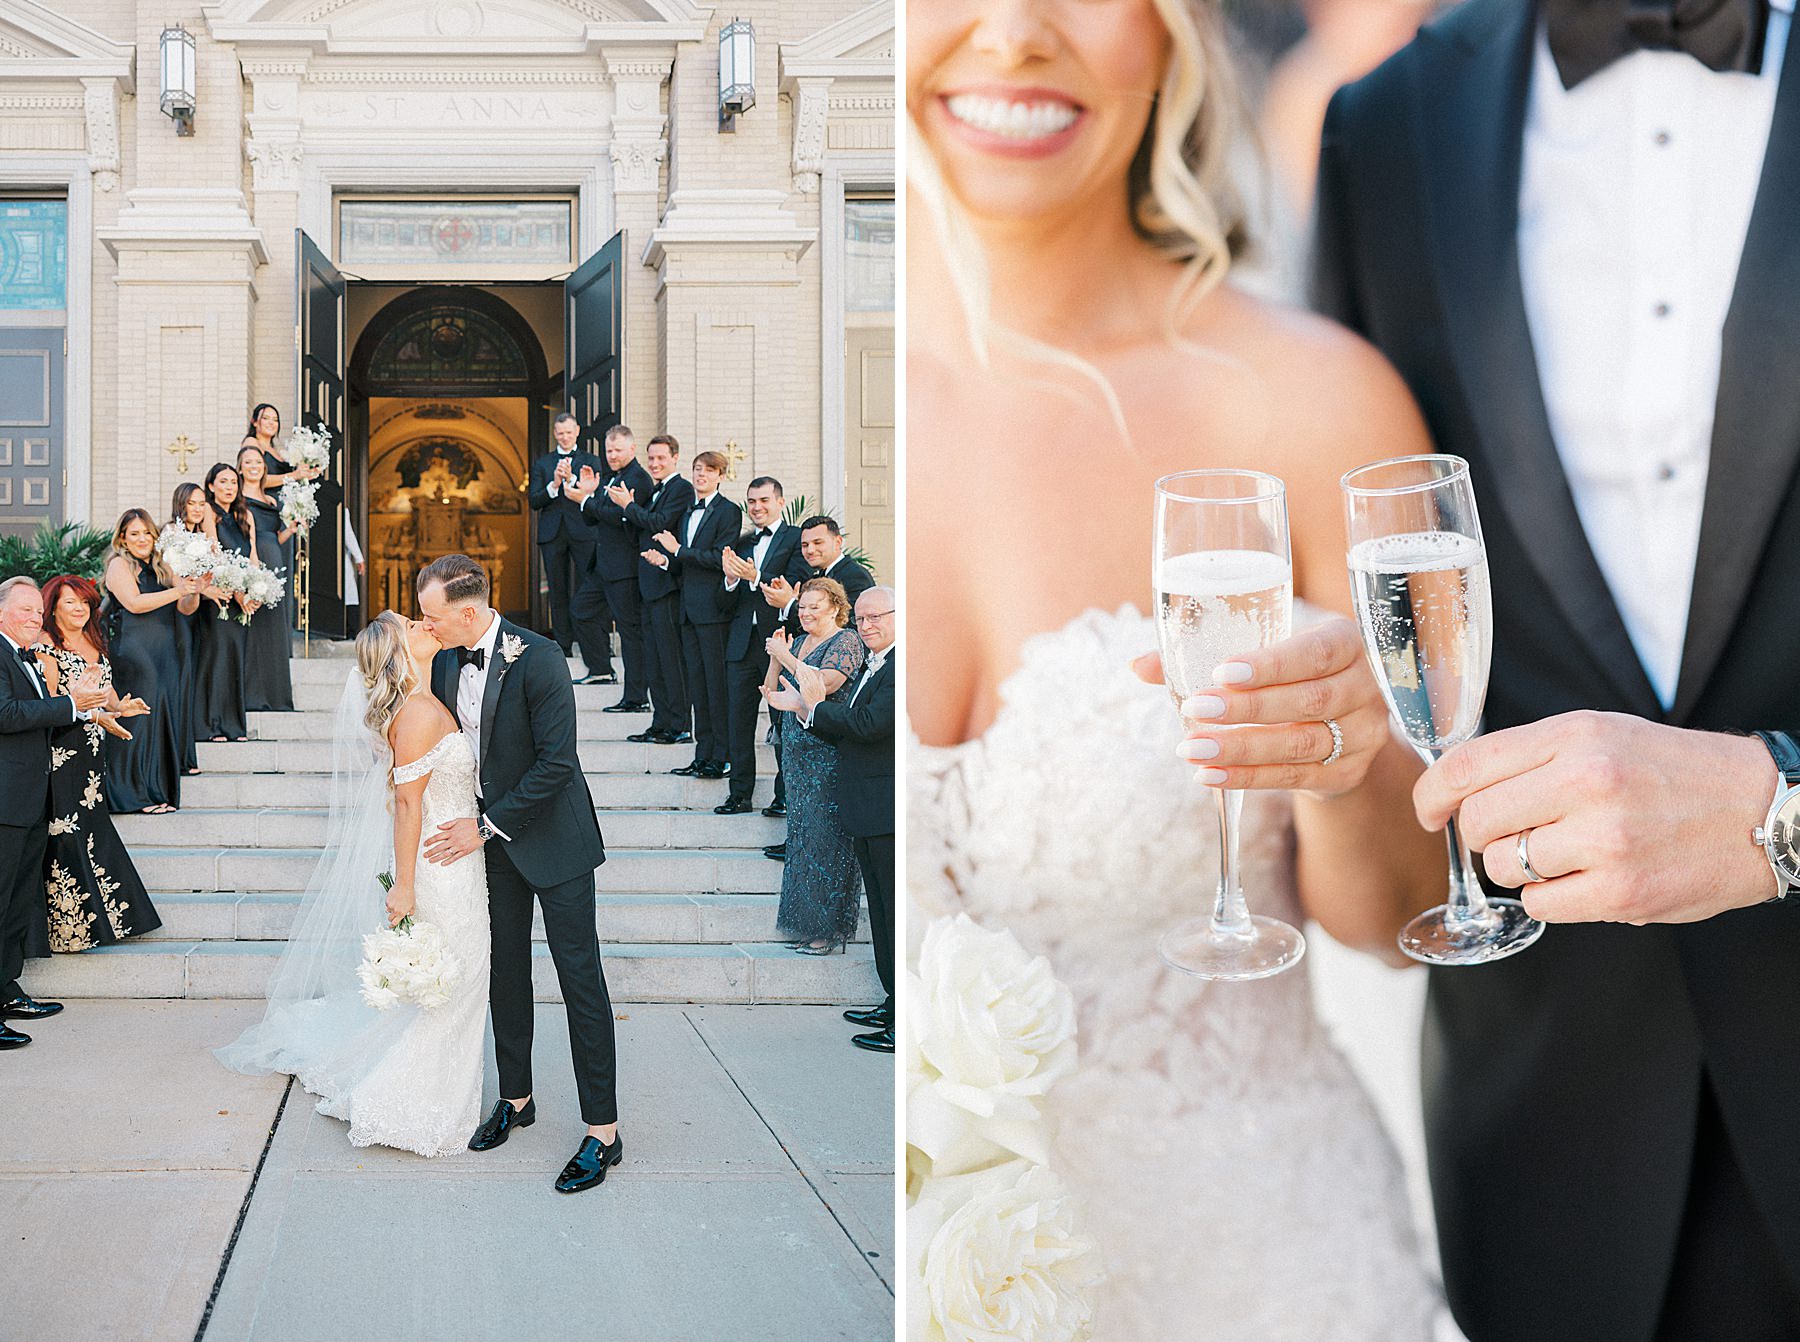
As silly as it may seem, practicing before your ceremony helps ensure you get a picture-perfect first kiss. It’s one of the biggest moments of your wedding day, and you want it to look and feel natural! If you practice ahead of time, then you’ll know exactly what to expect from your partner and vice versa — i.e. your partner’s hands on your waist and your arms up over their shoulders.
Here are some other tips for a great first kiss:
- Hold it for at least 5 seconds. Yes, literally count to five in your heads! This ensures your photographer has plenty of time to capture the moment.
- Ask your officiant to step out of the way before your first kiss so they aren’t standing directly behind you.
- Kiss again during the recessional at the end of the aisle. Use this opportunity to do a dip or something different than your kiss at the altar!
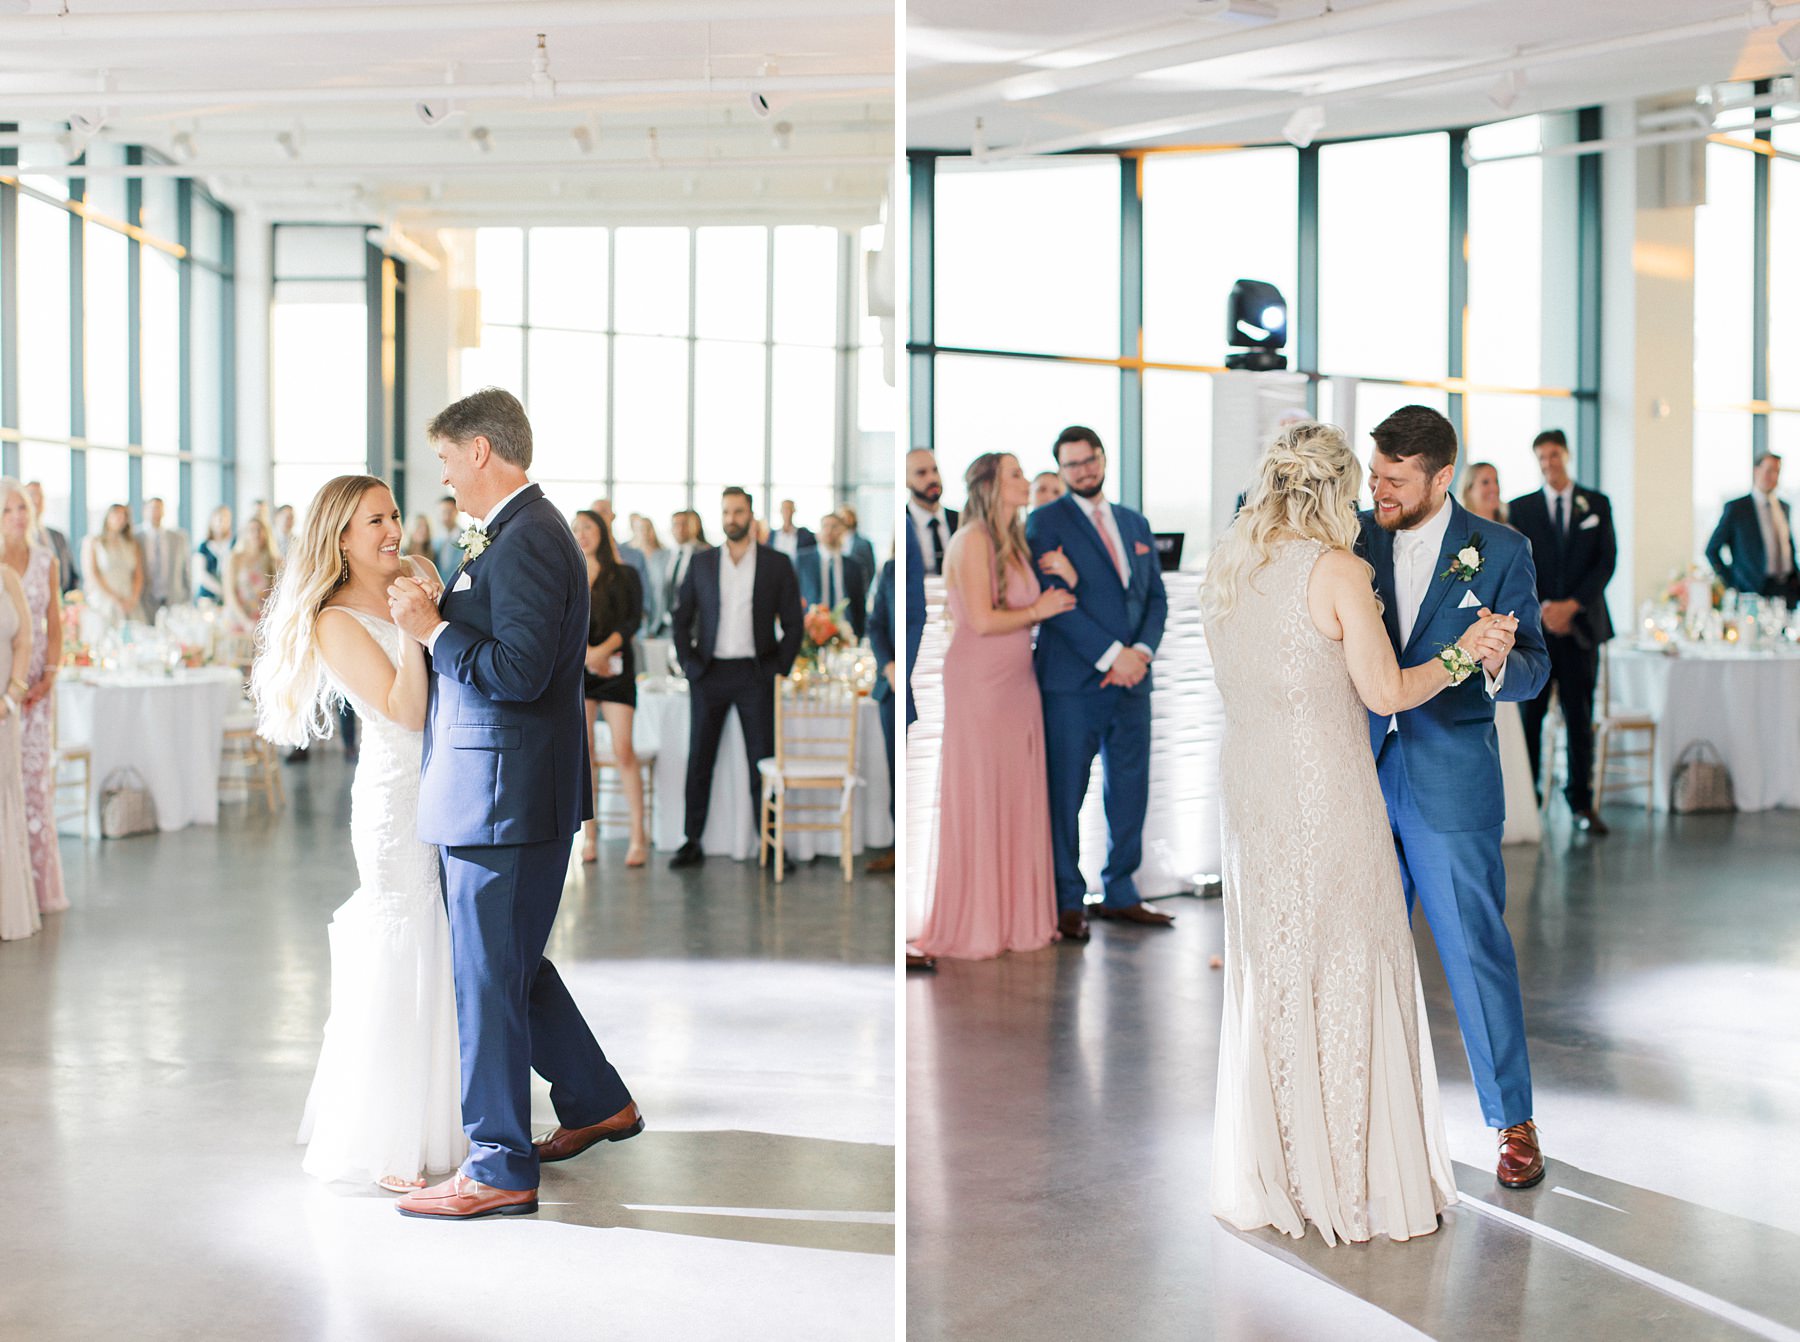
8. Have all of the dances and toasts right after your entrance.
Typically you will work with your venue and DJ/band to create the structure for your reception, but going into that conversation it’s good to have a general idea of how you’d like things to flow. Personally, I find that it works well to get all the “must-have” moments done as soon as possible — the introductions, your first dance, your parent dances, and any speeches or toasts.
There are a few benefits to this approach:
- If you’re nervous to be the center of attention, this will get the formalities out of the way early on so you can enjoy the rest of your reception without worrying about what’s to come.
- This helps ensure your photographer will still be there. If there are several dance sets breaking things up, your photographer’s coverage end time might creep up on you faster than expected — and it would be so sad to miss having any of these special moments documented!
- Guests can get distracted if there are too many breaks in the action. I always see them wander off to the bar, photo booth, bathroom, etc. It’s easier to keep your captive audience in one place from the entrance at least through the parent dances, as it can be difficult to get everyone seated again and paying attention once they’ve left their tables.
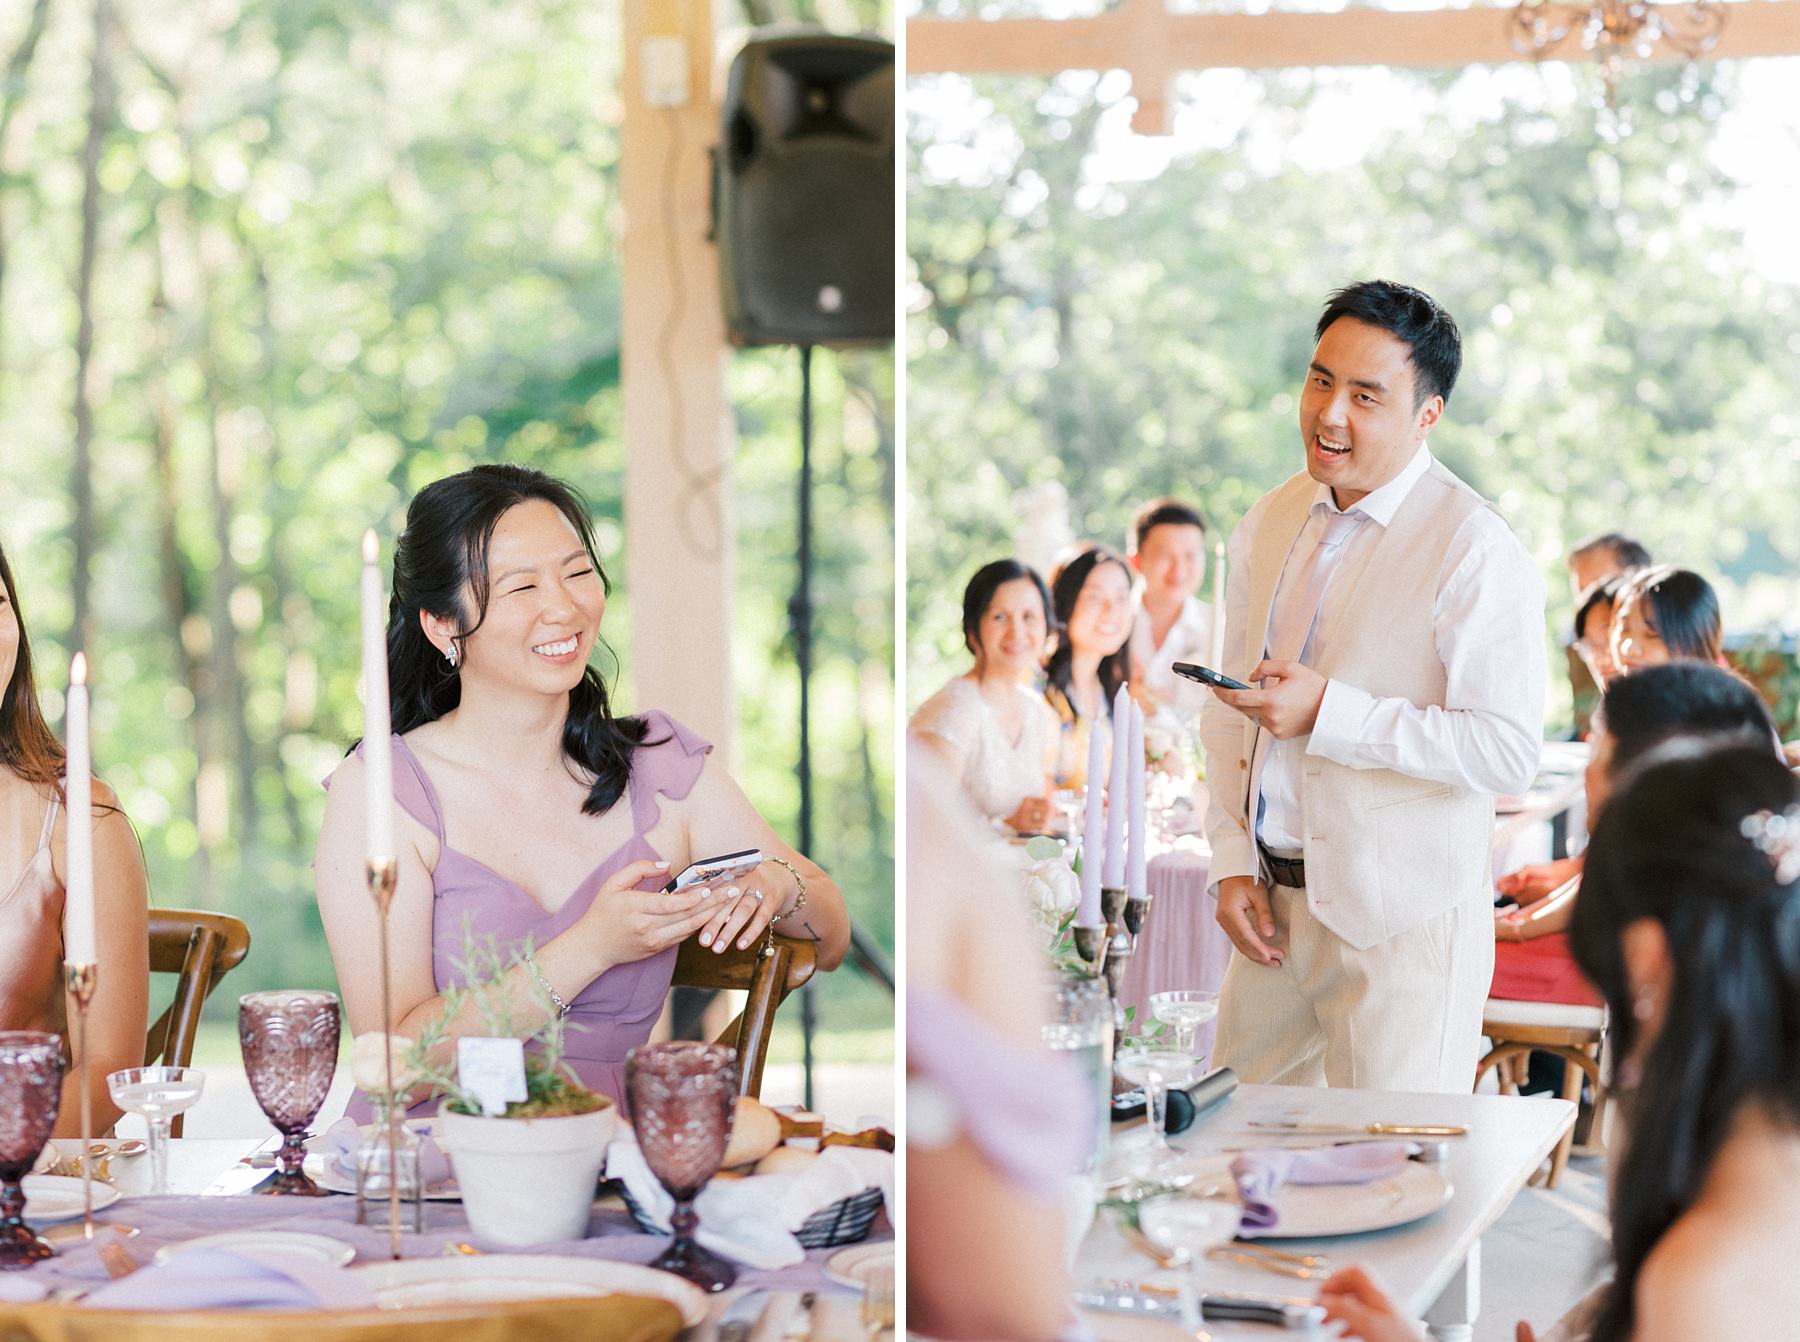
9. Seat immediate family & wedding party facing you for better photos during speeches.
I always have my second shooter focus on getting guest reactions during speeches and toasts. Once your guests are seated we will locate your VIPs — moms, dads, siblings, grandparents, maids of honor, best men, bridesmaids, and groomsmen. However, more times than not mom, dad, and others are seated off to the side and facing away from the couple. This makes it challenging to get those genuine reaction photos, from joy-filled laughter to heartfelt tears — which are especially important because more times than not these are moments you can’t see from your spot at the sweetheart table.
When creating your seating chart, I highly recommend making sure the VIPs in your lives are seated in a way that has them close to, and facing, where you and your partner are seated. This ensures they are already set up in a way that we can easily photograph their reactions and capture those sweet, candid moments that help to tell the full story of your wedding day.
10. Download ALL of your wedding photos, and back up to two separate places.
You are going to want your wedding photos for the rest of your life! As great as it is to have access to them in a private online gallery, most photographers only host clients’ photos for a limited amount of time. It is so crucial to download the entire gallery — YES, even the photos where you don’t like how you look, because I guarantee when you’re 80 years old you’re going to think you look great in every photo — and back it up in two places.
I recommend having an external hard drive or USB to have a physical copy of your gallery, as well as uploading everything to cloud-hosted storage like GoogleDrive or Dropbox in case anything ever happens to the physical drive. You don’t ever want to be in a position where you lose your wedding photos, so BACK. THEM. UP!
RECAP:
1. Hire a professional to coordinate your day.
2. Factor in extra time for travel, EVERYWHERE!
3. Consider doing a first look.
4. Make your ceremony unplugged.
5. Wear your engagement ring on your right hand during your ceremony.
6. Share your order of service with your photographer.
7. Practice your first kiss.
8. Have all of the dances and toasts right after your entrance.
9. Seat VIPs facing you for better photos during speeches.
10. Download ALL of your wedding photos, and back up to two separate places.
Liked this post? Check out this list of wedding day details you don’t want to forget next.


